Tag: #3d-printing (6 posts)
Precision Sourdough: A Smart Lid for Your Starter
Featured on Hackaday!
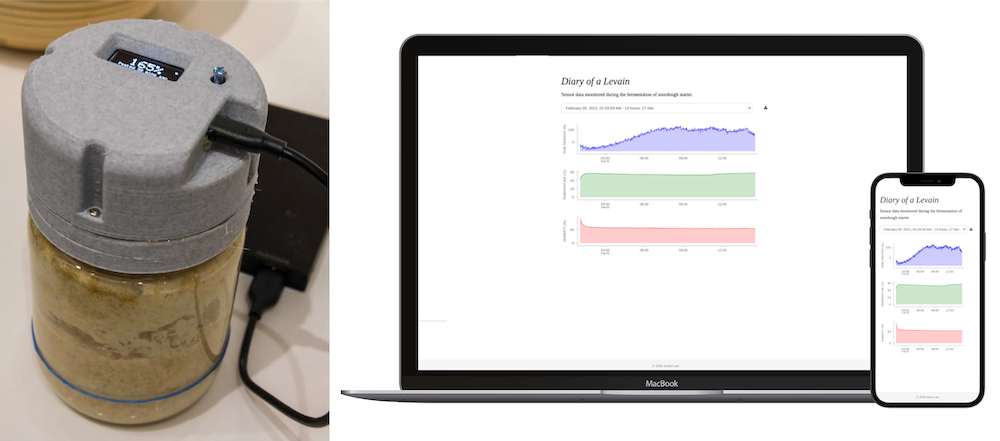
A few years ago, I had the idea to track my sourdough starter using computer vision. It was neat to monitor it this way, but it was fairly impractical to do for each feeding since it required setting up a camera, downloading the images, and doing some manual image cropping before running it through my analysis script. The analysis was also only done after the fact, and what I really wanted was something that could tell me when the starter was ready to be used (or fed), or, if I missed the window of opportunity, how long ago it peaked.
3D Printed Engagement Ring
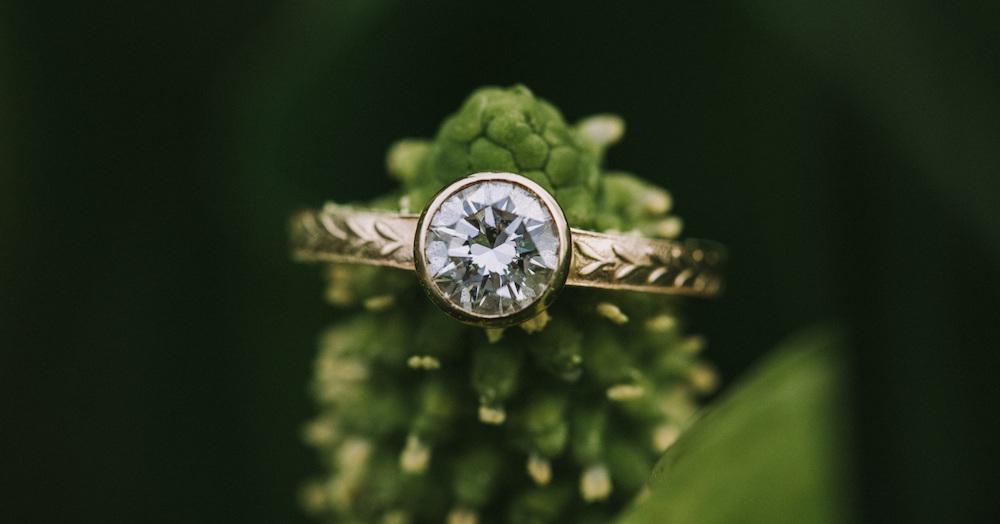
Professional photos from Justine Russo Photography.
For readers of my blog, you’ll notice that I haven’t had any new content in the past year. For good reason though, as I got married in June! Aside from planning the proposal and wedding, I also had the lofty goal of designing and making my wife’s engagement ring.
With this post, I’d like to share my quest in designing and 3D printing the ring, along with some *minor* mistakes I made.
Annealing 3D Printed Plastics: Sous Vide Style
Featured on Hackaday, 3D Printing.com, All3DP, and Fictiv Blog. Also cited in a few research papers1, 2.
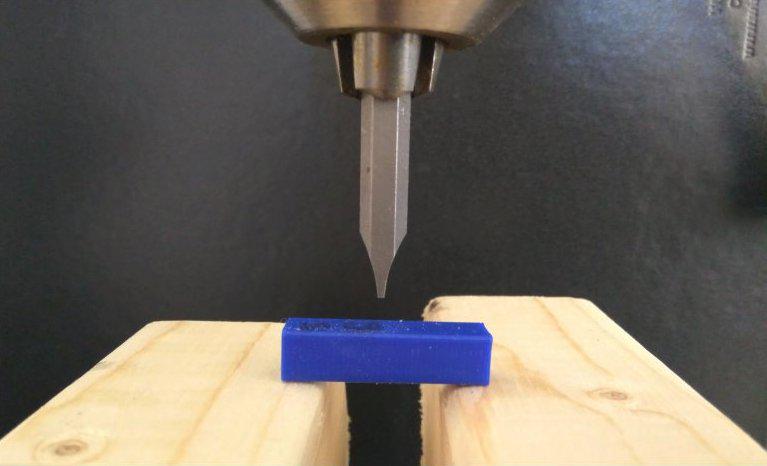
Yep, you heard it right. With all the craze surrounding cooking sous vide these days, it was only a matter of time before someone decided to venture using it outside of the culinary world. Turns out that someone also had a 3D printer, and you won’t believe what happened next!
Click-bait headlines aside, this post is quite lengthy and not everyone may have the patience to get through it all. Feel free to read the TL;DR below, or if you’re feeling inclined, follow along my adventure through the land of 3D printing, materials science, and modern cooking.
Hakko-Style Solder Fume Extractor
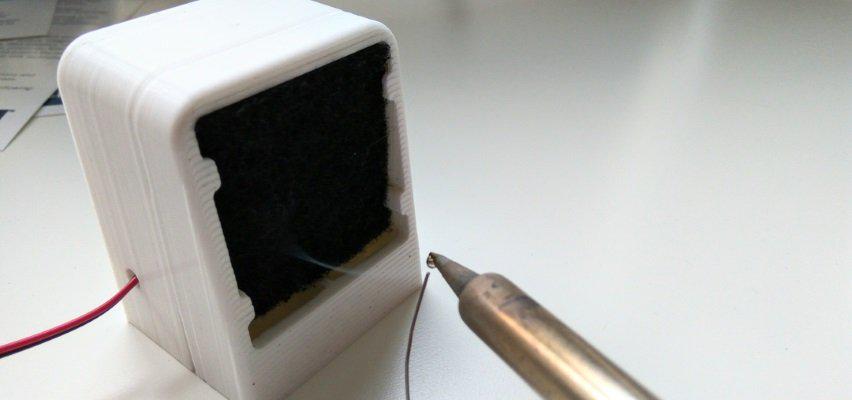
I’ve been slowly getting into the land of electrical pixies. So now, not only will I be inhaling sawdust, I can also fill them with leaded solder (because we all know that the performance of leaded solder takes higher priority than the safety of lead-free solder)! However, because I still value living, I figured I should get something to help get the solder fumes away from my lungs.
At my current job with MistyWest, we have a nice, bench top solder fume extractor by Hakko. But I’m cheap, so heck no was I going to pay over $100 for blowing away fumes when I can blow them away myself! Despite it being a nifty design with multiple configurations (shown in the images below), I would resist the temptation to lighten my wallet on this. Oh wait, I just bought a thing that I can use to make other things…
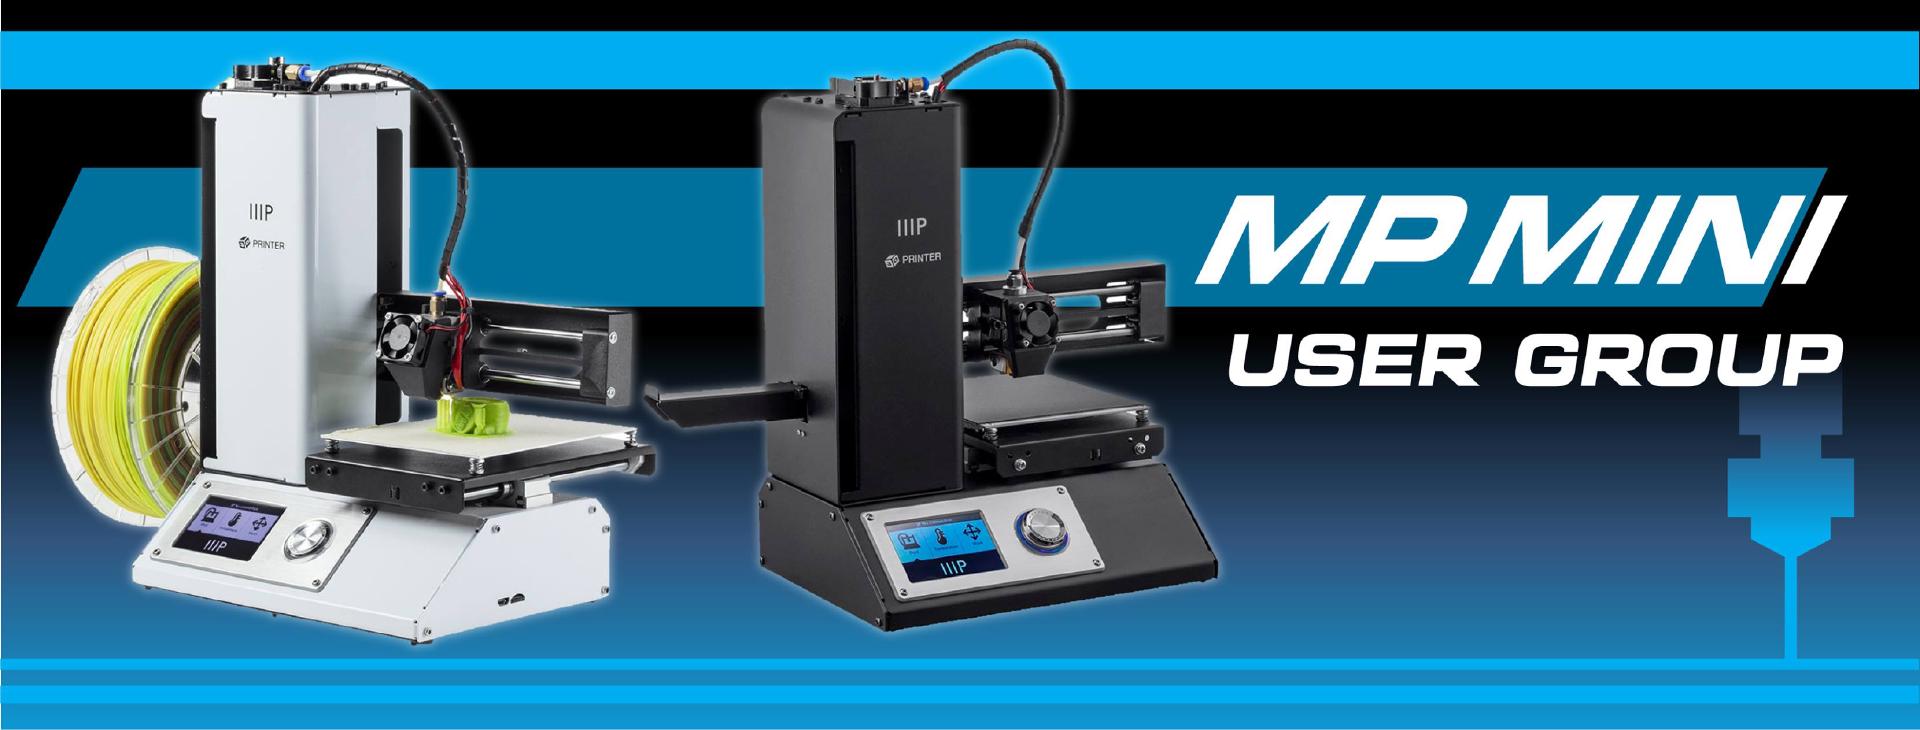
Resources for 3D Printing with the MP Select Mini
What’s better than an inexpensive 3D printer? Free sources of information! The items below are a resource list for 3D printing with the Monoprice Select Mini, all thanks to a lively community of users around the interwebz.
General Info
- Product Page:
- Official User Manual:
- Reddit:
- Facebook Group:
- Unofficial Wiki:
- Community Knowledge Base:
Materials and Accessories
Initial Set Up
- CAD Modeling Software (free for hobbyists and enthusiasts):
- Slicing Software:
- Onboard WiFi for wireless printing:
- Using Raspberry Pi and Octoprint for wireless printing:
Machine Settings
General
The machine settings below are based off the ones in the official user manual. However, the start and end gcode was taken from the community-driven Google Doc (see above) and slightly modified to include an initial nozzle wipe/primer and to remove the delay in turning the fans off.
New Toy Tuesday: Monoprice Select Mini 3D Printer
I’ve been bit by the 3D printing bug.
Like any tech-enthusiast, I have toyed with the idea of owning a 3D printer for quite some time. For my final year mechatronics design project, my partner and I designed an extravagent contraption to measure the yolk done-ness of a soft-boiled egg, which we called The PerfEGGct. We borrowed my roommate’s 3D printer to create the enclosure, and it turned out to be an indispensable tool during our prototyping process. At the time, reliable 3D printers were upwards of $500 which was just out of my threshold for nice-to-have gadgets.
